Login or create an account
CloseReturning Customer
I am a returning customer
Login or create an account
CloseRegister Account
If you already have an account with us, please login at the login form.
Your Account Has Been Created!
Thank you for registering with vapingwell!
You will be notified by e-mail once your account has been activated by the store owner.
If you have ANY questions about the operation of this online shop, please contact the store owner.
Account Logout
You have been logged off your account. It is now safe to leave the computer.
Your shopping cart has been saved, the items inside it will be restored whenever you log back into your account.
Geekvape Frenzy Pod Kit
- $27.99
- Ex Tax: $27.99
- Product Code: M00000013
- Availability: In Stock
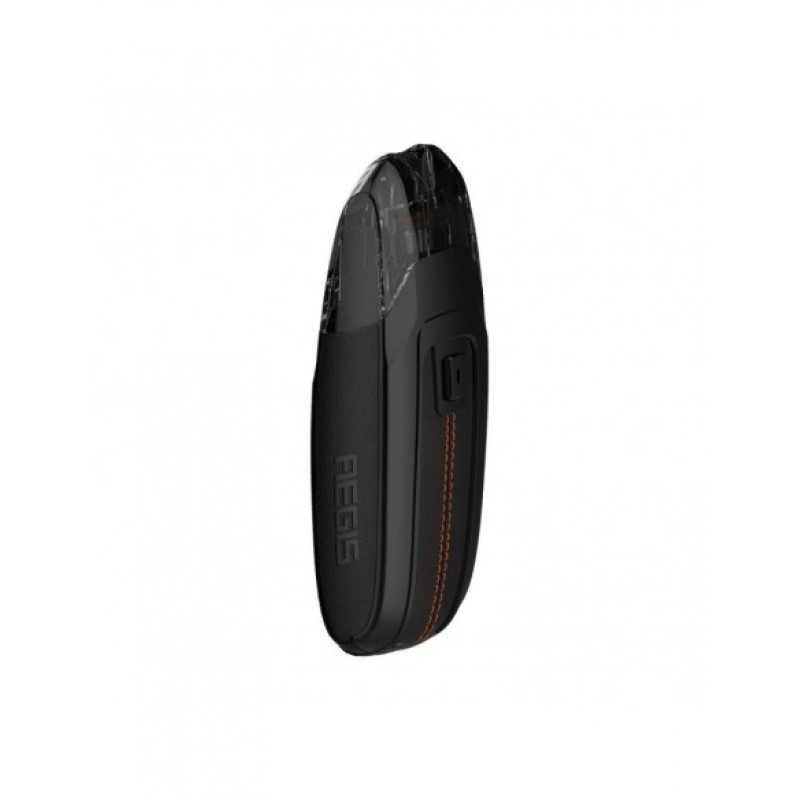
Geekvape Frenzy pod kit InstructionsOverviewThe Geekvape Frenzy pod kit is another addition to portable AIO pod systems. With this kit, you get the convenience offered by AIO vape kit along with the versatility provided by a traditional tank. You get sub-ohm and high resistance options when replacing coils. The unit is quite flexible as you can use it to vape both nicotine-based e-liquids and stan..
Available Options
Geekvape Frenzy pod kit Instructions
Overview
The Geekvape Frenzy pod kit is another addition to portable AIO pod systems. With this kit, you get the convenience offered by AIO vape kit along with the versatility provided by a traditional tank. You get sub-ohm and high resistance options when replacing coils. The unit is quite flexible as you can use it to vape both nicotine-based e-liquids and standard ones. It is powered by 950mAh battery. The device is the perfect combination of innovative technology, power, and simplicity.
Some unique features form part of the Frenzy pack that gives it an edge over other options. This device by Geek Vape is capable of providing you with a profound vaping experience. The AS micro Chipset allows the device to detect the coil head present in it. The output is thus changed according to the ohm level. If the preinstalled NS mesh coil of 0.7ohm is used, the voltage output mode is entered by the Frenzy. You can adjust the levels on 2.5V, 2.7V and 2.9V. If NS coil of 1.2ohm is used, the temperature control mode is entered. Users can thus change the temperature between three settings, including 420, 440, and 460F. A few clicks on the firing button will get the job done. The LED light indicator changes color according to voltage or temperature selected.
The 950mAh battery that powers the device will last you nearly the whole day depending on your style of vaping. The Geek Vape Frenzy features an easy fill port. Popping the pod out and filling it over all the two main steps which reveal the dual fill ports which are leak-proof. You can then add the e-juice flavor you prefer before clicking the pod back into the connection. Your work is complete. Two airflow slots along with a 510 drip tip form part of the device. The coils can be swapped, and you can select any one from the Geek Vape NS coil family. The coil installation is simple with quarter-turn, and the anti-leak refill technology makes things quite feasible. Needless to say, this one sure has a lot to offer.
Easy to use, innovative and powerful, this device would not let you down. Get one of these at Vape4ever.
Geekvape Frenzy pod kit Features
- A highly advanced pod system
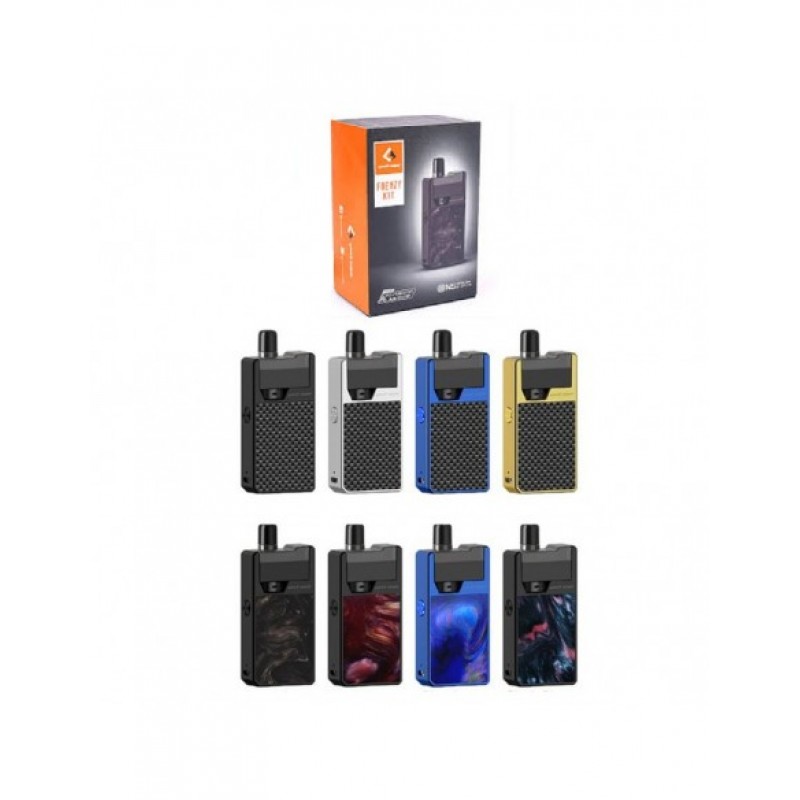
- Designed beautifully using resin and zinc alloy
- Stable and safe performance ensured with advanced AS micro Chipset
- Maximum flavor ensured with refined NS mesh coil.
- The function of the automatic output matching
- Indicator of battery life
- Airflow adjustment is convenient
- Anti-leak design with bottom refilling
- The battery and pod have a magnetic connection
Geekvape Frenzy pod kit Specifications
- Dimension: 86.1 x 37 x 15.7mm
- Capacity of 2ml
- 0.7 to 3-ohm coil resistance
- Built-in 950mAh battery
- 5V 1A charging specification
- Warning of low voltage up to 3.3V with 0.1V deviation
- PCBA alarm for temperature up to 80C
- The maximum duration of output is 10s
- Working temperature is from -10 to 45C
- Less than 10uA standby current
- Indicator for battery life wherein red light indicates battery life of 0 to 30%. Blue light is indicative of 31 to 69% battery life. Charge of 70 to 100% is denoted by green light.
Geekvape Frenzy pod kit Package Includes
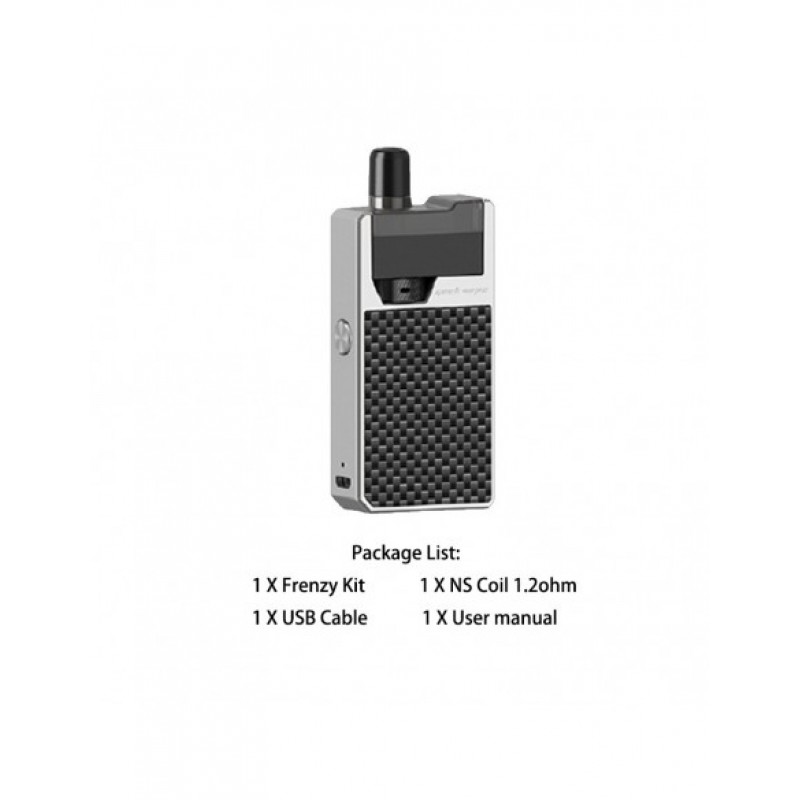
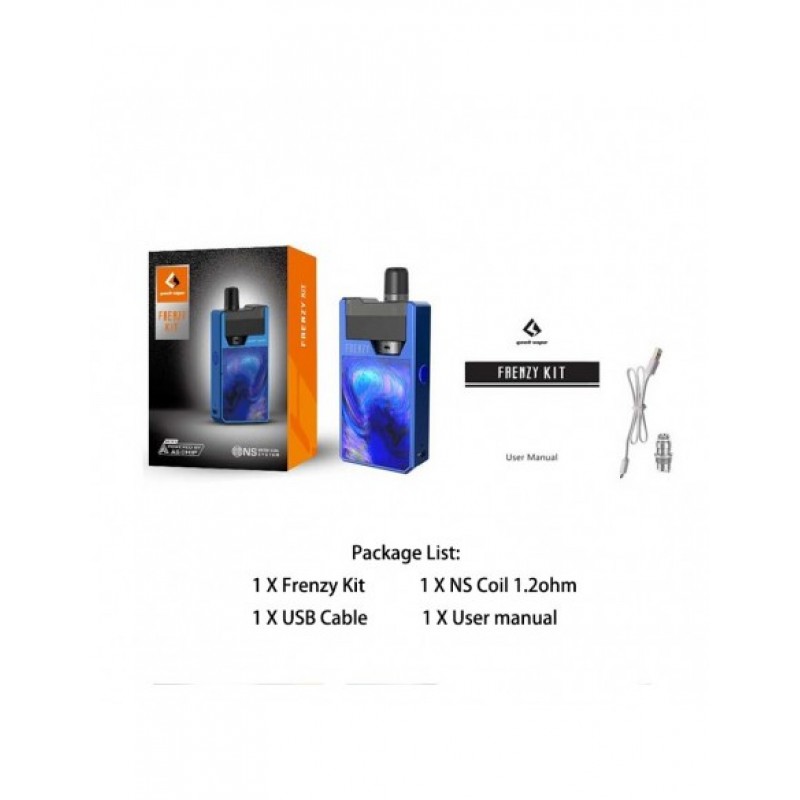
- 1 X Geekvape Frenzy Pod System
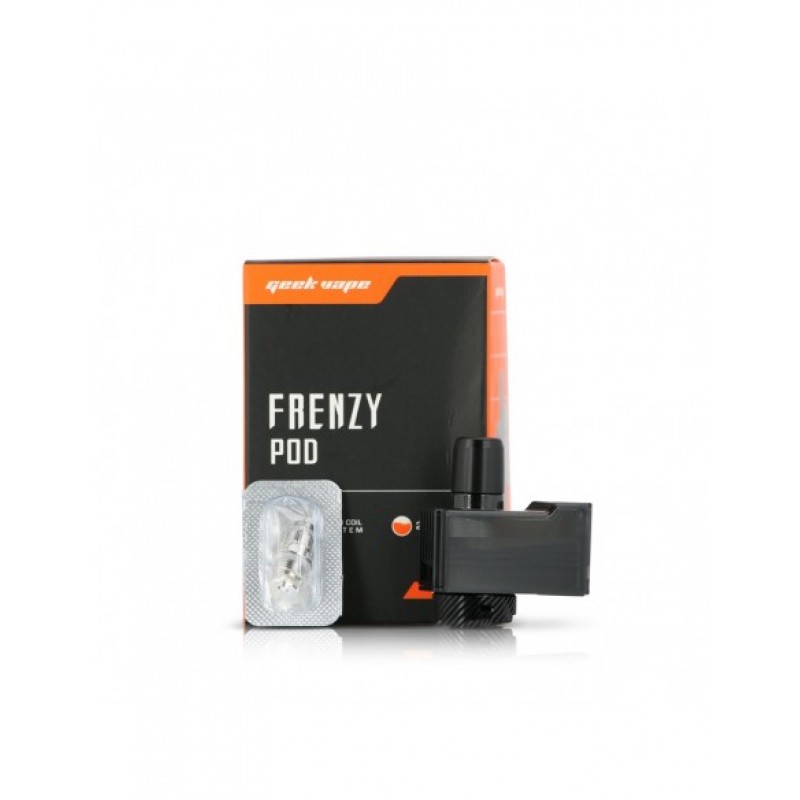
- 1 X 0.7ohm NS Mesh-KA1 Coil (installed)
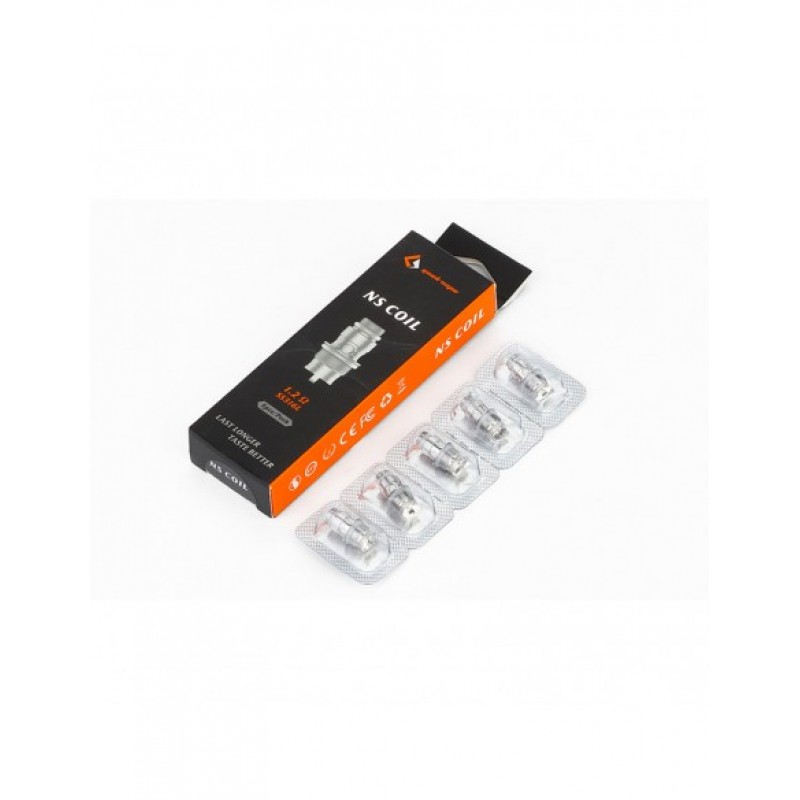
- 1 X 1.2ohm NS SS316L Coil
- 1 X Micro-USB Cable
- 1 X User Manual
What's more on Geekvape Frenzy Kit?
- Designed For The Ultimate User Experience
- Accessibility is quick owing to magnetic connection.
- Bottom refill is easy to access and is provided with anti-leak technology
- Coil replacement requires a mere twist to a quarter turn
- The airflow adjustment is convenient
- Automatic Output Matching Function
The output is adjusted to power mode with 0.7ohm coil is connected with adjustable settings of 2.5V, 2.7V and 2.9V.
When use the 1.2ohm coil, the device adjusts the output to Temperature control mode.
- Battery Life Indicator
Pressing the fire button twice displays the power.
If the charge is 70% to 100%, the green light flashes twice. Blue light flashing twice indicates that 31% to 69% charge remains. Less than 30% charge is indicated by red light flashing twice.
- Refined NS Mesh Coil System For Maximum Flavor
It included a pre-installed 0.7ohm NS mesh coil. To provide maximum flavors, 1.2ohm NS coil is included
- USB Port For Charging
Red light pulses if the battery level is between 0 to 70% during charging. When the battery reaches 70% to 100%, the green LED pulses. The green light remains lit when the battery is fully charged.
FAQ for Geekvape Frenzy Kit Problems
How to Remove the Pod?
- The first step is pulling the pod from the device
- The pod is placed in position magnetically. The magnet pulls the new pod
- The pod can be installed only one-way around.
How to Fill the Geek vape Frenzy Pod?
- Remove the pod and turn it upside down
- Open the filling flap after lifting the edge. The fill ports will then be revealed.
- Use either port for adding the e-liquids. Keep a check on the level from the side of the pod.
How to Change the Coil on the Frenzy Kit?
- Remove the pod
- The airflow control ring has to be turned 90 degrees in an anti-clockwise direction
- The coil will come out when you pull the airflow ring away from the pod.
- The coil has to be unscrewed from the airflow ring
- Place a new coil, screwing it onto the airflow ring.
- The airflow ring is then pushed into the pod, turning it 90 degrees till it is secure.
- If you are unable to push the airflow ring into the pod, rotate the coil assembly and airflow ring till they are aligned before pushing in. You will then be able to turn it in a clockwise direction up to 90 degrees for locking it in position.
- After filling the pod, leave it for around 10 minutes for priming the coil.
How to Charge The Battery?
- A USB cable is included in the kit. Insert it into the micro USB port of the system.
- The large end of the USB has to be connected to a suitable outlet.
- The pulses through colors when the device is charging and stays green when charging is complete.

